
A few years ago, we got a call from a frustrated customer.
“We poured self-leveller yesterday. It looked great at first, and then this morning, the floor resembled the surface of the moon. Bubbles. Craters. Pinholes everywhere. Did the product fail?”
The short answer: no. The longer answer—something underneath was trying to tell a story, and no one listened.
Why Self-Levelling Cement Is Still a Great Solution
Self-levelling cementitious underlayments are one of the best tools in modern flooring:
- They correct extremely uneven substrates
- They create a smooth, flat surface ready for vinyl, tile, hardwood, or coatings
- They save labour time versus traditional patching
- They help meet tight flatness tolerances demanded by today’s floor coverings
But here’s the truth: many floorowners and even contractors learn the hard way:
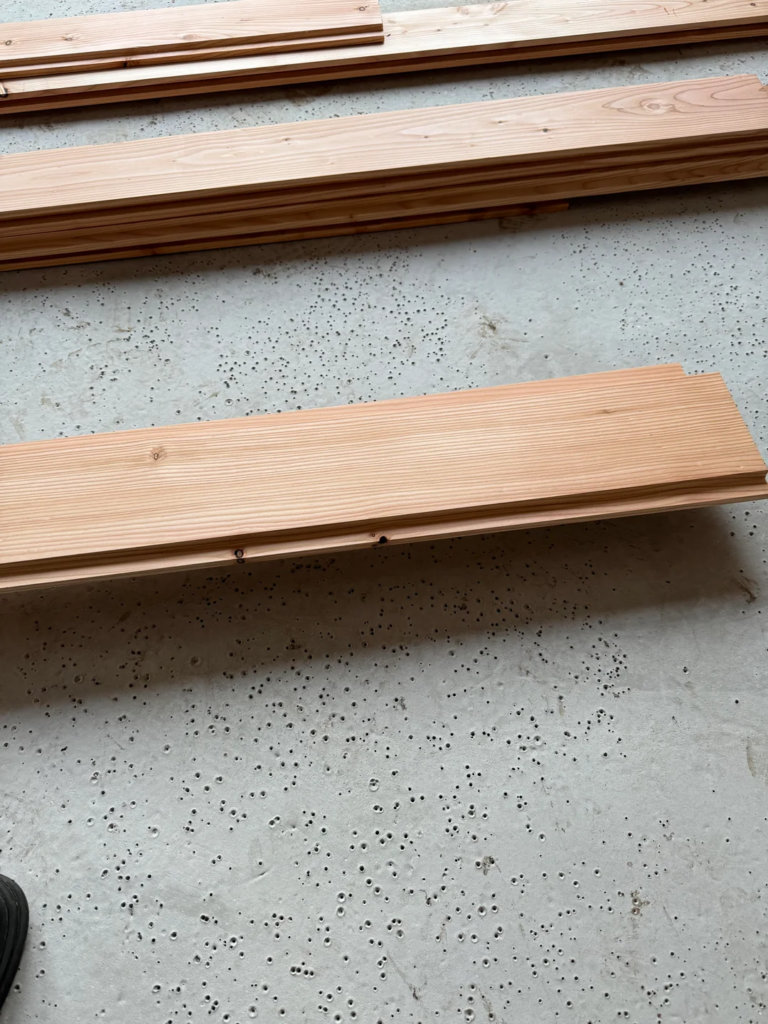
Self‑leveling does not fix problems—it exposes them.
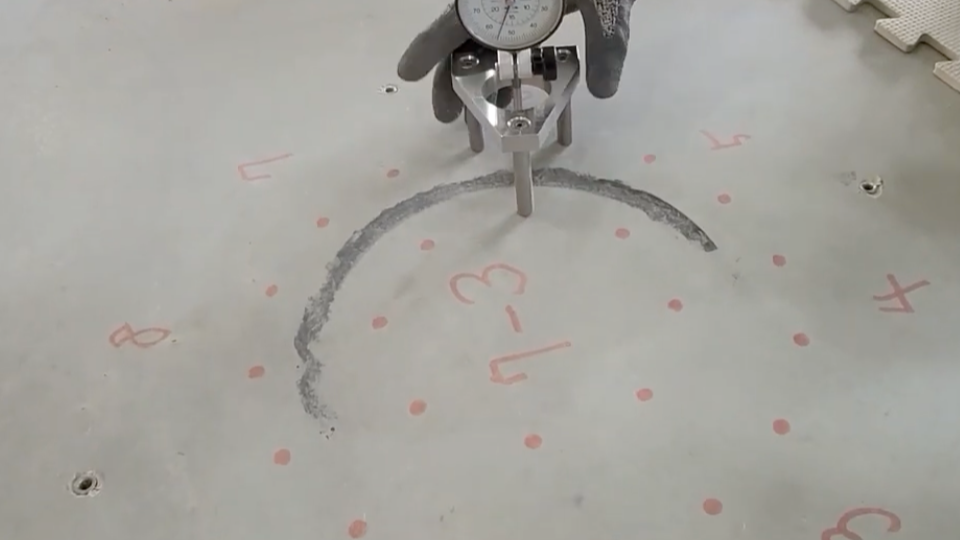
Before opening the first bag, the floor must be thoroughly analyzed—not just cleaned. Concrete and substrates can have red flags that are invisible at first glance:
- Trapped moisture
- Air pockets in lightweight or porous concrete
- Old adhesives or sealers
- Paint residue
- Dust embedded into the surface
- Temperature differences in the slab
- Excessive porosity
The Hidden Step Most People Skip: Substrate Analysis
When these issues are ignored, the self-leveller reacts exactly the way physics demands—not the way we hope.
So What Actually Causes Bubbling and Craters?
Let’s break it down in simple terms.
1. Air Escaping from the Substrate
Concrete is not solid—it’s full of microscopic air pockets. If the surface is too porous and not properly primed, air escapes upward as the liquid leveller flows… creating bubbles and pinholes.
Think of pouring water over a dry sponge.
2. Improper or Missing Primer
Primer is not optional—it is a control layer. Without it:
- Air rises uncontrollably
- Water is absorbed too fast
- Cement can set unevenly
- Pinholes multiply rapidly
A wrong primer or a diluted primer can cause the same issue.
3. Moisture Vapour Pressure
Moisture trapped below the slab doesn’t disappear—it looks for a way out. During curing, vapour pressure can push through the leveller, forming craters or blisters.
This is especially common in basements and ground‑level slabs.
4. Over‑Mixing or Incorrect Water Ratios
Too much water introduces excess air. Over‑mixing whips air into the material, and that air has to escape somewhere—straight up.
5. Environmental Conditions
Hot substrates, drafts, or direct sunlight accelerate setting time, locking air in place before it can dissipate.
Cold slabs slow curing, trapping moisture longer than expected.
6. Contaminated Substrate
Old glue, oils, curing compounds, or sealers can create “no‑bond zones.” When the leveller tries to bond, it pulls away instead—forming craters and fisheyes.
Are Bubbles Dangerous to the Floor?
That depends on what you’re installing on top.
- For thin vinyl or coatings, pinholes and bubbles can telegraph through and become visible.
- For tile, craters can compromise adhesive coverage.
- In wood or rigid flooring, weak spots can cause deflection or failure over time.
Cosmetic minor issues can lead to expensive callbacks later.
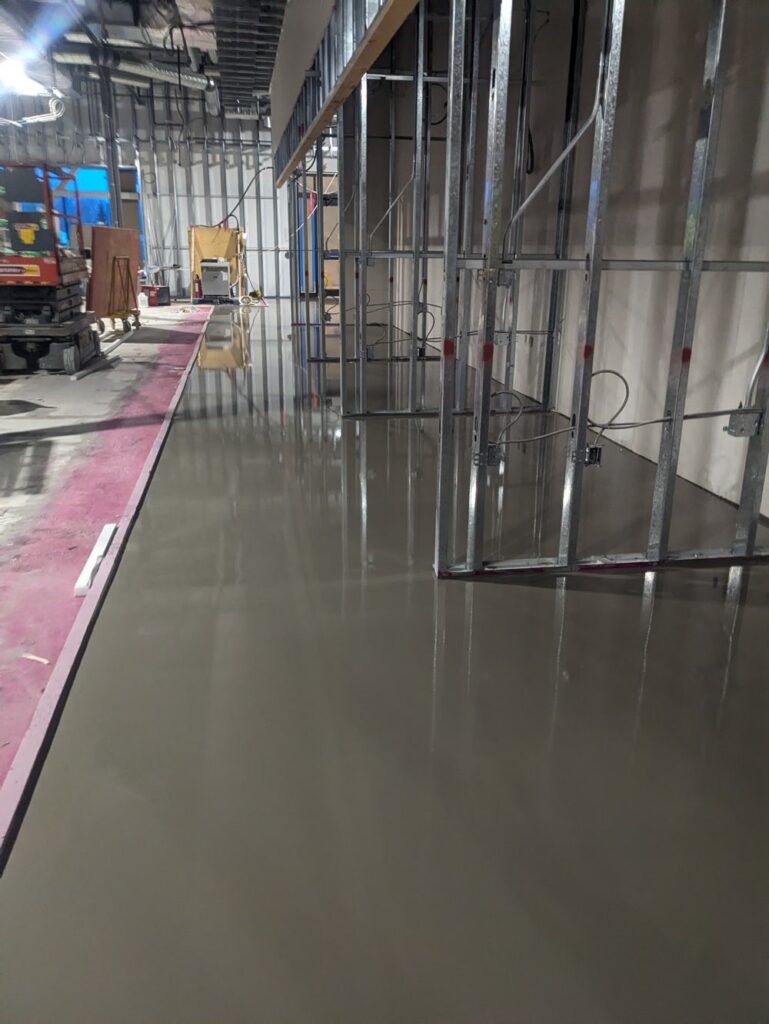
How to Avoid—or Reduce Bubbling to a Minimum
Here’s what experience teaches us:
- Always test the substrate: Absorption, moisture, and surface tension—all matter.
- Use the correct primer—and apply it correctly: Sometimes two coats are required. Sometimes, sand broadcast is necessary.
- Control air, not speed: proper mixing speeds, the correct paddle, and the correct water ratios.
- Respect environmental conditions: Slab temperature matters as much as room temperature.
- Fix the source, not the symptom: Grinding bubbles afterward doesn’t solve the underlying issue.
The Lesson for Floorowners and First‑Timers
When you see bubbles, pinholes, or craters, don’t blame the bag first. Ask instead:
- What is this floor trying to release?
- What was missed before the pour?
- What warning signs did we ignore?
Self-levelling cement is an incredible technology—but only when paired with proper analysis and preparation.
Because floors don’t fail loudly at first, they whisper.
And those bubbles? That’s the whisper most people wish they had listened to sooner.